Friday, January 31, 2014

Mason Jar Terrarium

 I love anything that gets my children outside and enjoying every bit of beautiful nature they can soak up. While making terrariums in our yard we searched for rocks, dug up moss and covered our hands with soil. It was a wonderful day. In the end, we were able to bring all of that right into our home to enjoy each day. This is why I love terrarium jars.

 Materials:
Mason Jar
Stones
Dried Moss
Soil
Plants- Moss, Succulents, Step-Ons

Most of the materials for our jars were found right in the yard. We went on a little nature walk to start off our adventure and collected rocks and moss and even scooped some soil from our own garden.

 We started by adding a layer of dry moss. You can find dry moss at even craft store or even the dollar stores.
 Next, we added our collected stones. These first two layers help with drainage, since our jars don't have holes at the bottom.

 Adding our soil was the most fun for both my children. Any reason to play with dirt is always exciting!
 Once we had our soil in, it was time to begin placing our live moss and plants in the jar. This moss came right out of our yard. It is very easy to dig right up.

 Em decided her terrarium needed a little friend. This sweet little deer figurine was the perfect finishing touch.
 They came out so beautifully! We love how you can see each layer. My kids love to care for their little gardens with just a spritz of water every other day. Terrariums make great gifts and are lovely to have around the house.


I shared this tutorial and more over at Kiwi Crate.

Sunday, January 26, 2014

Connecting with Kids during Busy Times

This sounds a little silly, but sometimes I feel so busy with my kids, that I have no time to connect with my kids. I never imagined that to be possible, but sure enough as I am driving two kids to two different schools, planning play dates, doing homework, packing lunches and so much more, all for my kids--sometimes we are so busy we forget to stop and truly connect.
After feeling like this for a few very busy weeks I decided I needed things in our daily (very busy life) that I could easily do to help feel connected again. I need that and so do my children because although packing lunches and doing homework matters, it's not what is remembered and treasured.

1. Get silly. I am going to admit something that I would have preferred to be a family secret. I bought my children a whoopee cushion (actually I bought them two, because one was just not enough for this household) and I must say it was the best damn dollar I have ever spent.

 
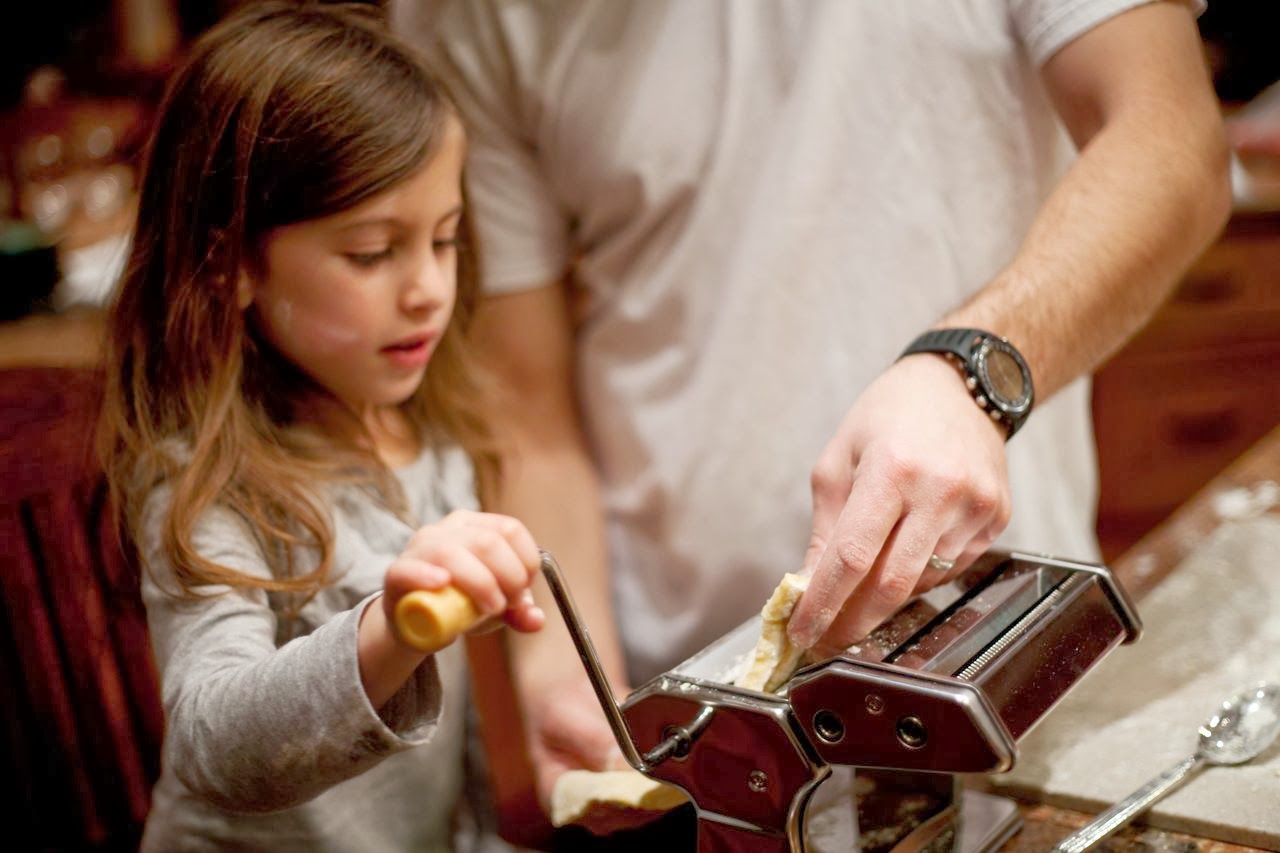
2. Cook together. You have to eat, so why not cook together. Yes, it makes a bigger mess and takes a whole lot longer, but man is it worth it. 
3. After you're done cooking together, have a living room picnic. I tossed this idea out to the kids last week (after a hectic day) and their excitement and enthusiasm just about made me cry! It sure is the little things that make life great.

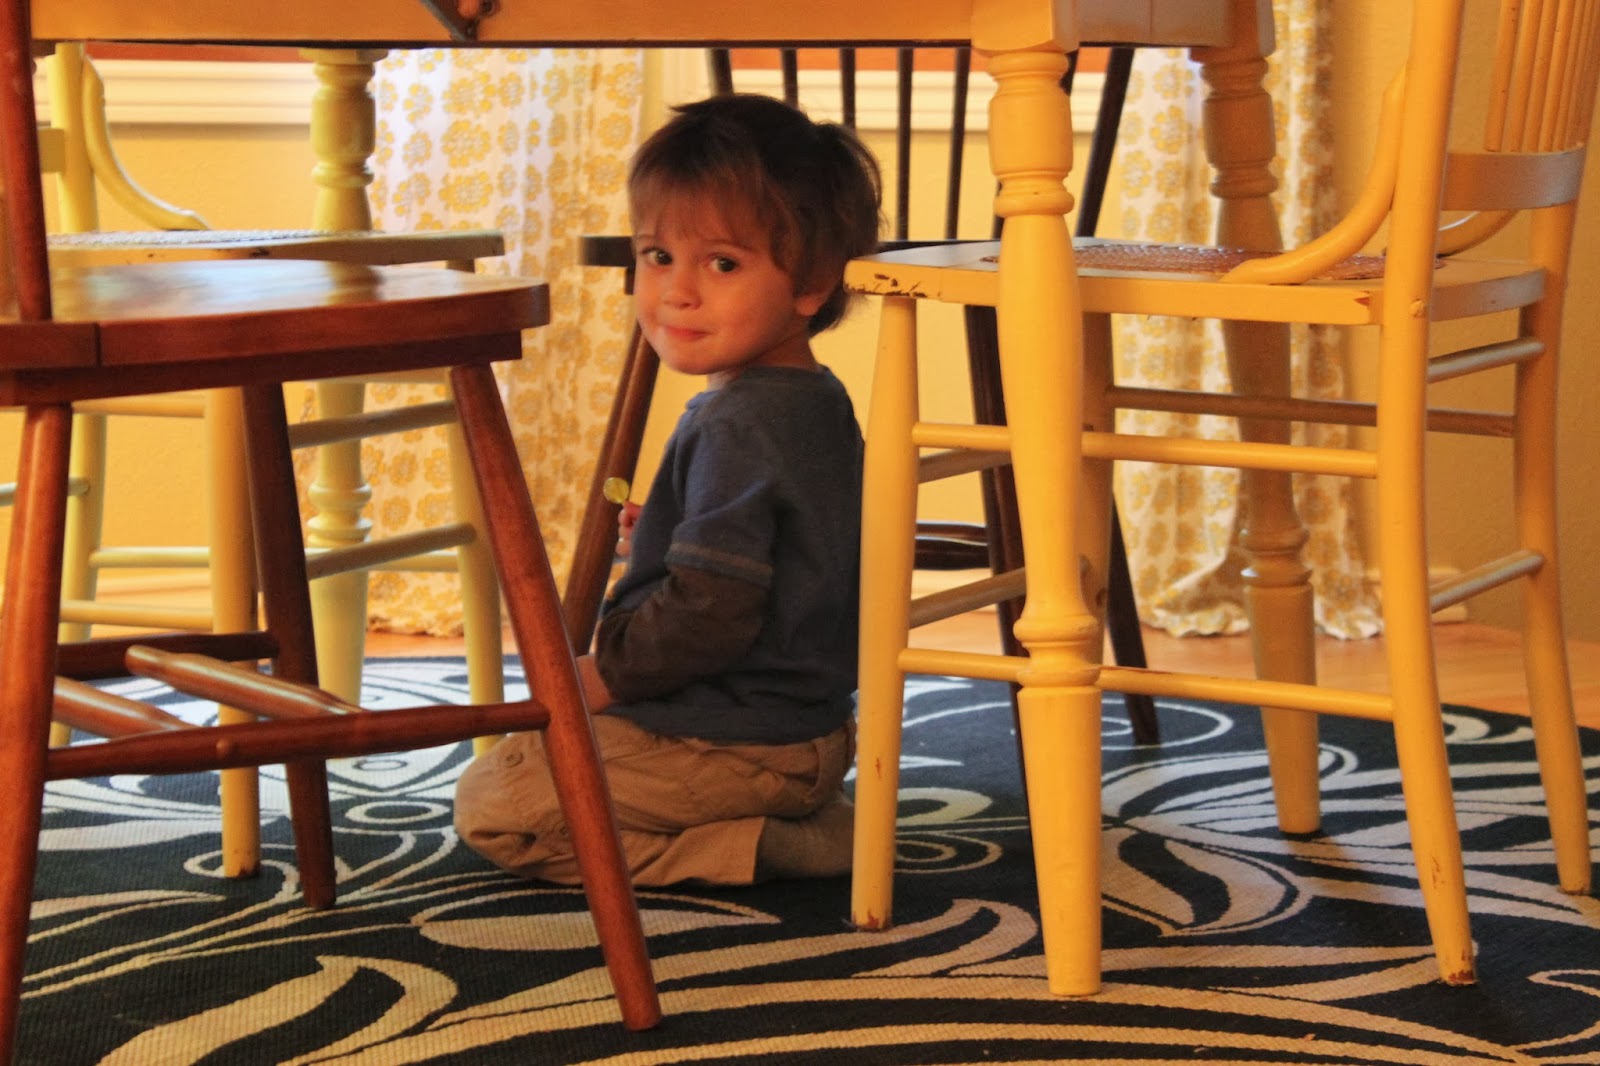
4. Play games. We love playing hide and seek and have started playing card games with the kids now that they are getting older. It makes you disconnect from everything else and just be with your family.
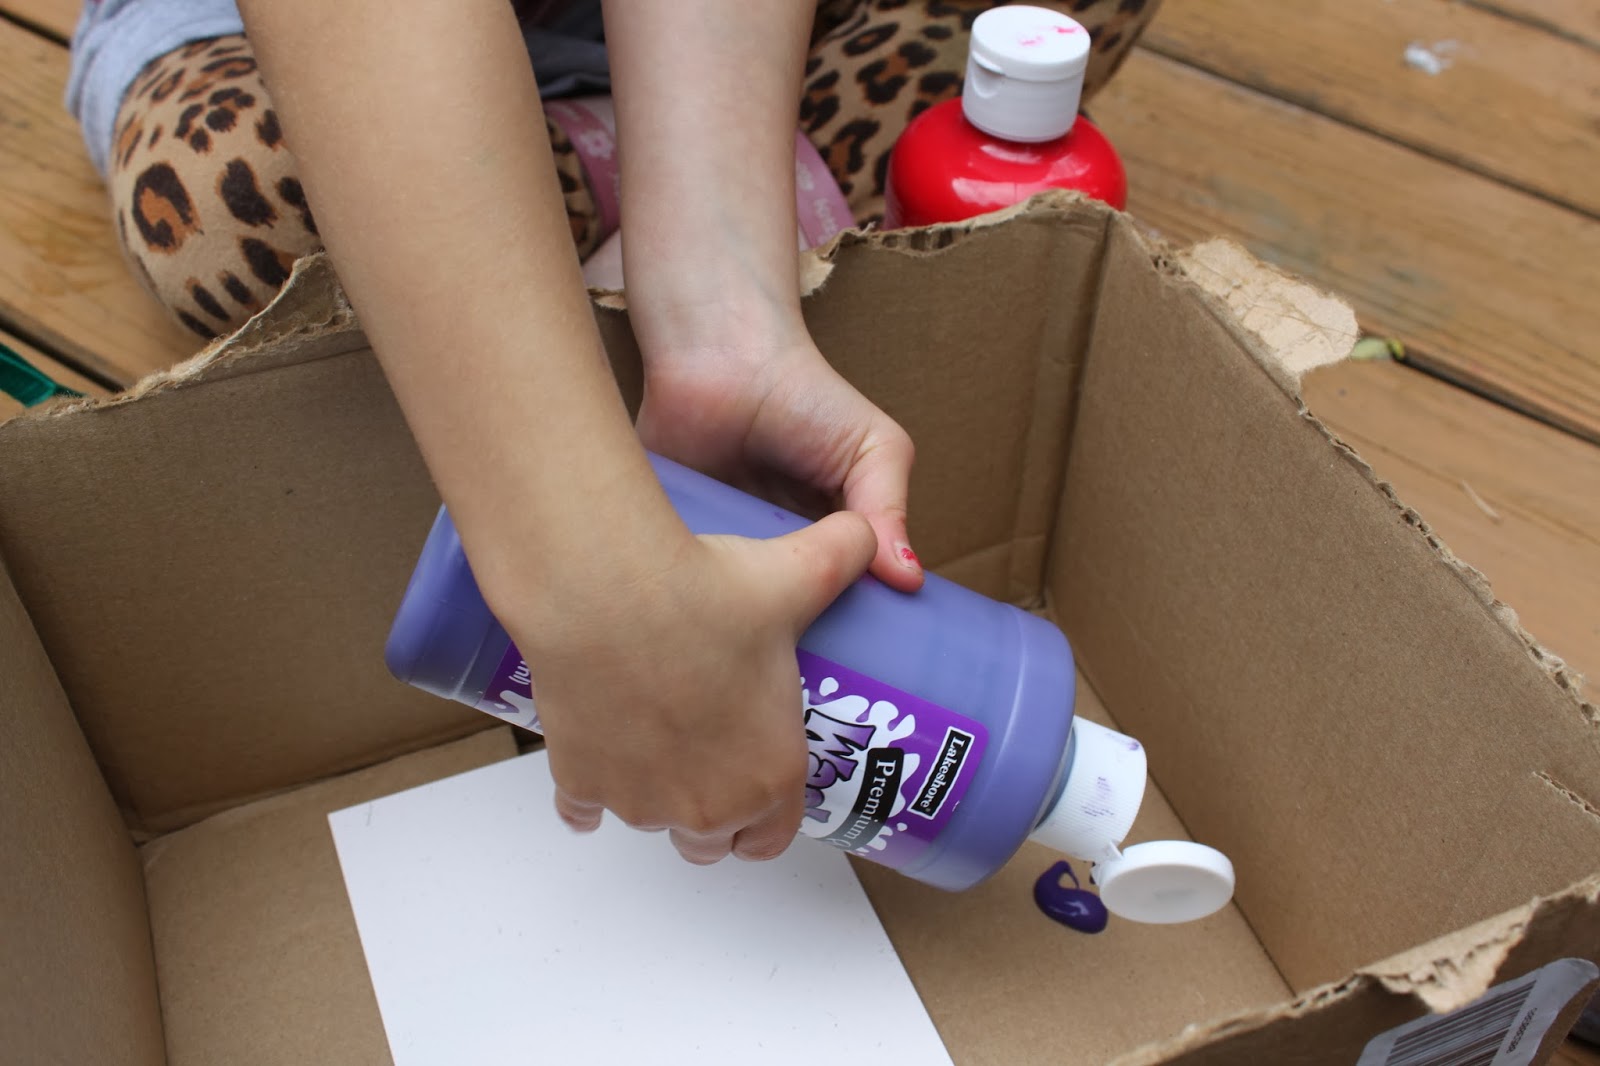
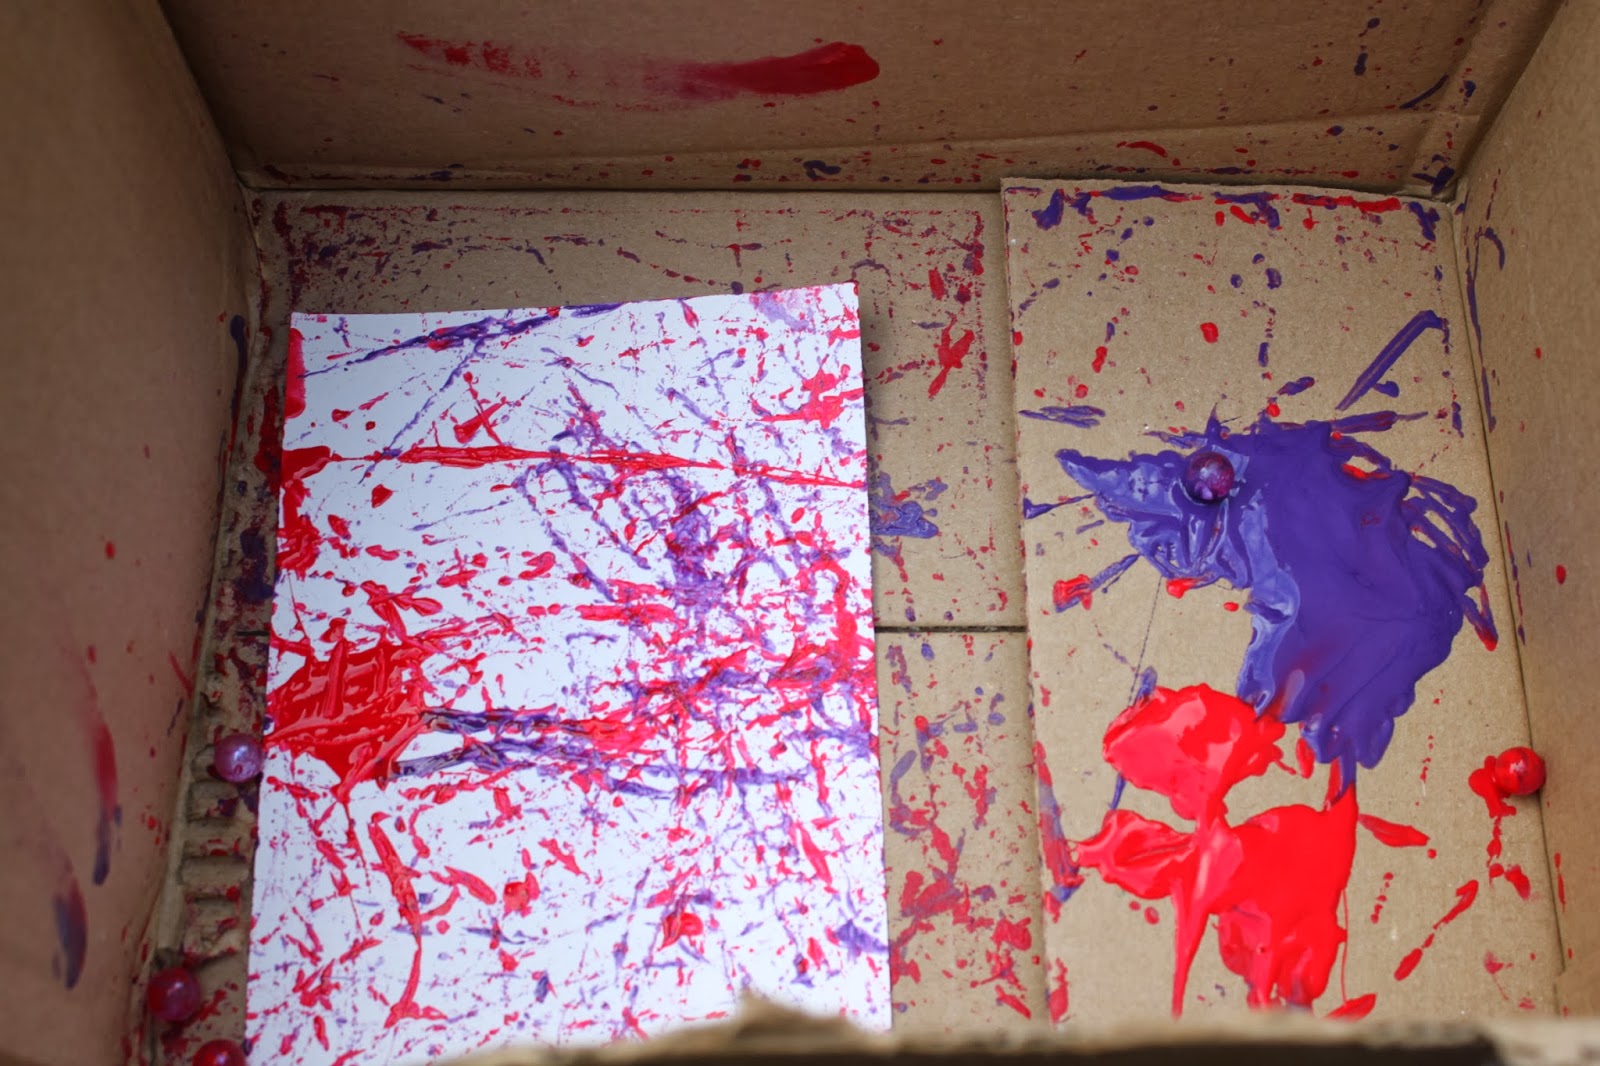
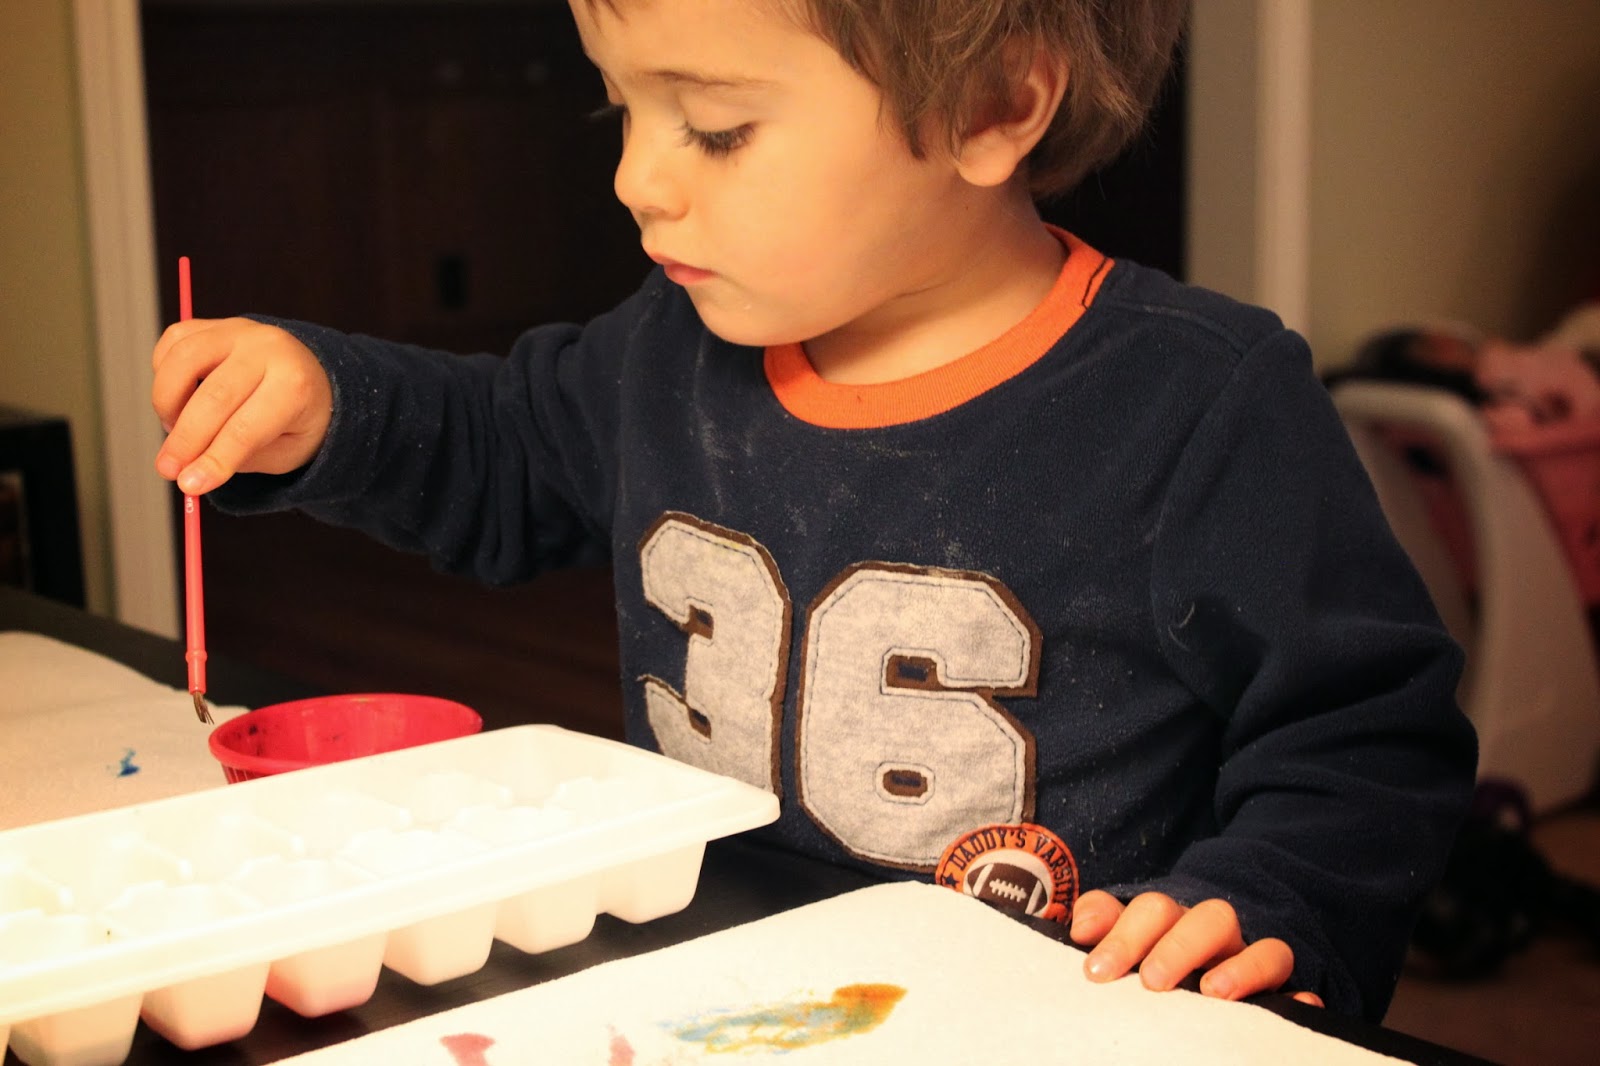
5. Do something side by side. Em and I like to make jewelry together or sketch. We don't work on the same project, but our own and together, side by side. It's just cool. I don't know why.

6. Look at baby pictures and videos together. This is such a sweet thing to do and my children absolutely love it! Warning: keep tissues nearby (how do they grow up so fast?!)
7. Volunteer at their school. Em loves when I pop in to have lunch with her at school. Not only is it making her beam, but it's showing her to be involved in her community.

8. Play music. It always changes the mood in a crazy day.
9. While we're on the topic, dance! Dance your little heart out! They will never forget it.
10. Name your nights. So you're having tacos tonight..OK whatever, but say you're having tacos on TUESDAY TACO NIGHT! It's like Disney World just moved in.
11. Clean together. When Em's teacher had the kids "ice skate" to clean the floor I just knew this was something I had to adopt into my household and it has made cleaning our floors fun for all!
12. Hug more.
13. Say "I love you" more.
14. Cuddle more.
15. Read more.
16. Smile more.
17. Relax more.
18. Laugh more.
19 Talk more.
20. Enjoy the little things more.

I'm not an expert, just a mom sharing my thoughts and experience on feeling less connected and changing that with little things that are simple and easy to do.

Thursday, January 23, 2014

Marble Paintings

 Marble painting is one of our favorite painting techniques, probably because you can make art and get silly all at the same time! Bonus--the paint is all contained in one box!

 Supplies:
card stock or any heavy paper
marbles
paint
a box (about double the size of your paper

 1. Place your paper in the box (side flaps removed) and add a few drops of paint on the side of the paper.
 2. Drop the marbles into the paint.

 3. Now have the kids roll the marbles back and fourth around the box. This is the silly part that the kids love.

 4. Once the paper looks nice and colorful, remove, let dry and start over!

 These prints come out really fun and the kids love to make them. I was thinking we could just cut hearts out of our art for some really fun Valentines. You could also start with heart cut-outs that you place in the box.
I am going to be doing this at our school craft day this year. I think it will be a hit with several age groups. I was thinking of using newspaper hearts (wouldn't that be pretty cool?!)

I shared this over at Kiwi Crate.Check it out!


Saturday, January 18, 2014

Tie Dye Flowers

 Friends! I am sorry I have been M.I.A. these days. I have been swamped over at Green Owl Art with school commitments and my latest exciting endeavor--a Girl Scout troop! I can't wait to share the amazing things our troop has in store, but today here is a simple no-treat Valentine to make.

 All you need:
paper towels
watercolor paints
paint brush
clothespin

 We started out by just painting on the paper towels. We love using liquid watercolors. They are so vibrant and a little goes a long way. An ice cube tray is perfect to hold these paints.

 The trick is to cover the entire paper towel with paint. Another way to do this is with paints or food color and water in spray bottles (especially good for the impatient little one.)

 Look at the results! So beautiful, right? I just love all the colors. It would also be fun to stick to Valentine colors for this. A bouquet of red and pink would be very sweet. We let these dry outside for about and hour.

 At first we thought we could just roll our towels up and secure with the clothespin, but they were way too bulky and didn't look much like a flower. So, we decided to tear them into smaller peices to get the right look.

 We made small piles with our "petals" and twisted each one before adding a clothespin to the bottom. You could paint the clothespin green if you'd like or just leave natural like we did.

Em decided a spritz of perfume was a great touch. A few drops of lavender oil would be nice, too. Along with a simple note these are a great way to make a no-treat Valentine still fun and exciting.

I shared this over at Kiwi Crate.

Thursday, January 9, 2014

Watercolor Bookmarks

 February is around the corner and I have been brainstorming ideas for no-candy Valentines. I hope to share a few over the next couple of weeks. These bookmarks are great because you can recycle some artwork to become the bookmarks if you have some extra on hand (and we all know if you have young children, you have some artwork to spare!)

 On this day we painted a few special paintings specifically for the bookmarks. Using watercolors and card stock. Your child will also need scissors, a hole punch, contact paper and yarn.

 Em painted a few abstract paintings. We absolutely love these metallic watercolors that we found at our local used art supply store recently. They give a great effect with lots of shimmer. I believe they are made by Prang.

 Once the paintings were dry we cut the card stock into bookmark size strips and laid them onto the sticky side of a sheet of contact paper. Next, we covered them with another sheet of contact paper to seal and cut each one out leaving a small edge of the contact paper around each bookmark.

 I helped Em to punch a hole at the top of each and we picked the perfect yarn to add to each one.

 A simple knot on each of our bookmarks and we were done. She really enjoyed making these and using them.

 Art and literacy--all in a days work!

Don't you think these would make a great Valentine? You could even add little heart stickers or stick to colors like red, white and pink. So many ways to make these for your Valentine!

I shared this and other Valentine crafts over at Kiwi Crate.

Friday, January 3, 2014

Clothespin Puppets

 This is one of our go-to boredom busters. So simple and easy, yet sparks hours of creative play. I love crafts that continue on after the creation is done. These are great for mini puppets shows or pretend play. They have often been given names and kept as "pets."

 Grab your clothespins and anything you'd like to decorate them with. We have done has simple as markers and as extravagant as glitter and glue (that made for some sparkly fancy monster friends!)

 Today washi tape worked well. The entire family got involved in this craft and it was fun to see all the different creations come to life.

 Em added some feathers using tacky glue. G was a big fan of the pom-pom balls and googly eyes on this day.

 You know I just had a thought--Valentines Day is just around the corner, wouldn't these make a fun DIY Valentine for classmates?

 Once we were done it was time for some silly puppet play. The best thing about clothespin puppets is making them talk! We eventually built a mini puppet theater using a shoe box. Much fun had with a few materials around the house.

I shared this and many other crafts over on Kiwi Crate.