Hello Friends! It has been awhile, I know. I am sorry I have not been very inspiring these days. I have a full plate at the moment, but I hope you follow my FB page, as I try to post inspiration from others there whenever I can.
I had a few moments tonight and wanted to share a fun spring craft that I have been doing with the kids for a couple years now. I just love celebrating seasons with my children. Talking about it and opening our eyes to the changes around us really make me appreciate each and every season so much more...especially when you are looking through the eyes of a three-year-old.
For the our butterfly print all you need is a heavy weight paper, black fabric (puffy) paint and watercolor paints.
We folded a sheet of paper and opened it up. I helped the kids to draw half of a butterfly using the fabric paint.
We folded out sheet back up and pressed firmly down to spread the paint to the other side.
Do I need say more? She was excited by this part. You open up the paper and have a beautiful butterfly. Hard part is to let the paint dry after this step, but it doesn't take too long.
We used watercolor paints to fill in our butterfly. They came out beautiful and both kids requested to make more. I say that is success!
Happy spring! I will be back more often come April...promise!
I shared this over at Kiwi Crate. Check it out!
Showing posts with label Seasons. Show all posts
Wednesday, March 19, 2014
Butterfly Print
Saturday, February 8, 2014
Snow Bake Shop
Snow day!!!! I always wanted to scream that while running through the house at 5am, but unfortunately my parents raised me in Southern California (the nerve!) and I never did have that opportunity. Lucky for my kids I changed that for them. Yep, moved them to entirely different state just so they could have a snow day. OK, so maybe that is not entirely true, but today on our very first snow day since making our big move, it was all worth it!
So, I had this long list of things that I have always wanted to do with the kids in the snow, but sledding overrides most of my ideas (with good reason) and we only got to our snow bakery during the "down time."
I gave the kids liquid watercolors, cookie cutters, scoops, silicone cupcake liners and glitter, of course! I had to remind G that this was not a snow cone, several times. They sure did look tasty enough to eat. That reminds me of another idea I have been wanting to try, snow+honey+lemon= yum!
They did this for quite some time before getting back to the snow covered driveway............
Yahooo........and..........
Wipe out! Don't worry, our sweet neighbor A was all smiles when he popped his little head up.
Today I will try frozen bubble blowing, I will, I will, I will.
So, I had this long list of things that I have always wanted to do with the kids in the snow, but sledding overrides most of my ideas (with good reason) and we only got to our snow bakery during the "down time."
I gave the kids liquid watercolors, cookie cutters, scoops, silicone cupcake liners and glitter, of course! I had to remind G that this was not a snow cone, several times. They sure did look tasty enough to eat. That reminds me of another idea I have been wanting to try, snow+honey+lemon= yum!
They did this for quite some time before getting back to the snow covered driveway............
Yahooo........and..........
Wipe out! Don't worry, our sweet neighbor A was all smiles when he popped his little head up.
Today I will try frozen bubble blowing, I will, I will, I will.
Monday, December 16, 2013
3-D Snowman Art
Hello Friends! I am trying to share a few more fun holidays crafts with you before I close shop for holiday break with my family. I won't be writing new posts until New Years, but I will be sharing fun holiday ideas on my Facebook page. Thanks for the continued support.
This snowman craft was one I just had to get out for all you before I signed off. My kids (and I!) just loved this one. Have you used shaving cream for art like this? It is very cool and becomes art and sensory fun all in one!
To make your shaving cream paint all you need to do is mix equal parts of shaving cream and school glue together. It becomes the consistency of marshmallow fluff. It would be fun to add glitter at this point if you wanted some sparkle to your paint and who doesn't love sparkle?!
Now, paint away! We made snowmen on this day. You could use this for many fun project ideas. I have seen adorable polar bears made this way as well. So cute!
I had an assortment of beads, button, pipe cleaners and pom-poms for the kids to build their snowmen with. G added a belly button on his!
We let these dry for a few hours. They feel like marshmallows when they are all dry and they stay nice and fluffy. Pretty cool!
Oh yes, we just had to make a melted snowman!
Happy Holidays to you all! I wish you peace, love and many many cherished memories made.
xo
green owl mama
This snowman craft was one I just had to get out for all you before I signed off. My kids (and I!) just loved this one. Have you used shaving cream for art like this? It is very cool and becomes art and sensory fun all in one!
To make your shaving cream paint all you need to do is mix equal parts of shaving cream and school glue together. It becomes the consistency of marshmallow fluff. It would be fun to add glitter at this point if you wanted some sparkle to your paint and who doesn't love sparkle?!
Now, paint away! We made snowmen on this day. You could use this for many fun project ideas. I have seen adorable polar bears made this way as well. So cute!
I had an assortment of beads, button, pipe cleaners and pom-poms for the kids to build their snowmen with. G added a belly button on his!
We let these dry for a few hours. They feel like marshmallows when they are all dry and they stay nice and fluffy. Pretty cool!
Oh yes, we just had to make a melted snowman!
Happy Holidays to you all! I wish you peace, love and many many cherished memories made.
xo
green owl mama
Saturday, December 14, 2013
Egg Carton Penguin
We made these penguins last winter and I just pulled out the goods to make them again this morning. I adore penguins and I think I have passed on this love to the kiddos. I also love a good recycled craft, so this one is a keeper!
I broke apart the egg carton cups for the kids and grabbed some tacky glue, felt, scissors, googly eyes and black and white paint. This morning I think we may even make a few purple penguins.
The kids painted the entire egg cups black except for the "belly" which was of course white.
For our little penguin feet we used felt. Cutting the felt into a small heart shape worked perfect and a little tacky glue held it on to our egg cups.
A felt triangle and googly eyes finished off our little guy and the kids discovered they could use these as finger puppets! How fun!
How cute are these little penguins? I just love how they turned out. I think I may include this craft at our family kids Christmas table. It would be fun to add some other fun accessories to the mix and see what the kids could come up with. A penguin with some fun yarn hair perhaps??
I shared this over at Kiwi Crate. Join me there for more winter fun crafts.
I broke apart the egg carton cups for the kids and grabbed some tacky glue, felt, scissors, googly eyes and black and white paint. This morning I think we may even make a few purple penguins.
The kids painted the entire egg cups black except for the "belly" which was of course white.
For our little penguin feet we used felt. Cutting the felt into a small heart shape worked perfect and a little tacky glue held it on to our egg cups.
A felt triangle and googly eyes finished off our little guy and the kids discovered they could use these as finger puppets! How fun!
How cute are these little penguins? I just love how they turned out. I think I may include this craft at our family kids Christmas table. It would be fun to add some other fun accessories to the mix and see what the kids could come up with. A penguin with some fun yarn hair perhaps??
I shared this over at Kiwi Crate. Join me there for more winter fun crafts.
Labels:
Christmas,
Kiwi Crate,
Recycled art,
Seasons,
winter
Friday, December 6, 2013
Watercolor and Salt Winter Scene
Our first snow arrived today. Nothing like it. We were in a happy winter mood and decided it was the perfect afternoon for some winter scene paintings.
I am a big fan of watercolors for my children and myself. There are so many different ways to use and adapt them to every age. There is not much I would rather be doing then sitting with my kids and creating a watercolor painting together. It just makes me happy!
For this winter scene project we used a pan set, but we are big fans of liquid watercolors as well. They are easy for little ones to use and you can also use it for things like shaving cream prints and to color play dough! Talk about versatile.
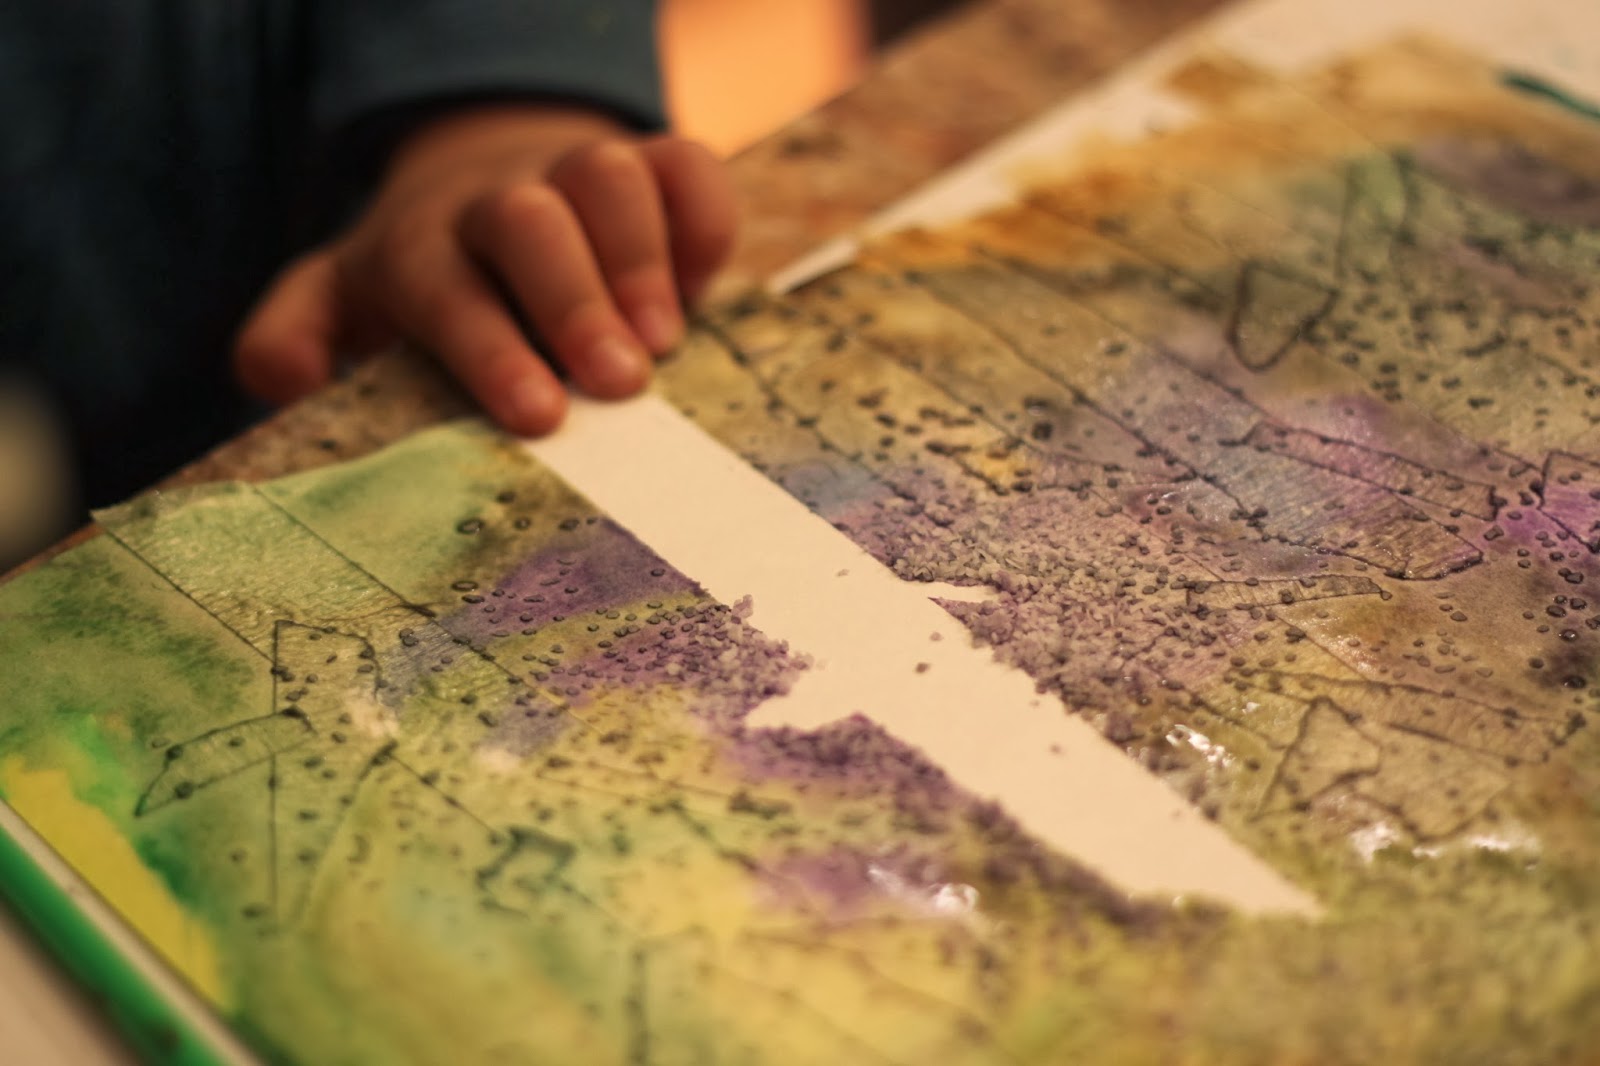
To start our project I had the kids create some bare winter birch trees with masking tape on a sheet of watercolor paper (yes, this paper makes a big difference when working with watercolors.)
This project has been done in so many different ways and I wish I could find my first inspiration for it, but we've been painting these for several years now and it never gets old.
Once the masking tape trees were in place the kids started to paint the background winter sky. I asked them to use only three colors for this project and focus on blending the colors.
We compromised and they used about five colors. They painted right on top of the tape (so be sure the tape is sealed to the paper well.)
While the painting was still wet we sprinkled a little bit of sea salt on top. This is to create a snowy look. The salt absorbs the watercolor and looks like snowflakes falling. It's instantly beautiful.
G got a little carried away with the salt. I was just happy how engaged he was in this. I usually lose the little one after step two.
Finally the tape comes off to reveal our beautiful birch trees. I think I forgot to mention to encourage tearing of the tape to create rough edges. It makes a big difference.
Using a dry brush we added lines to the trees and let our painting dry. Once dry most of the salt falls off and leaves behind our wonderful snowflakes.
What a great way to spend our first snow day. Happy winter, friends!
I am a big fan of watercolors for my children and myself. There are so many different ways to use and adapt them to every age. There is not much I would rather be doing then sitting with my kids and creating a watercolor painting together. It just makes me happy!
For this winter scene project we used a pan set, but we are big fans of liquid watercolors as well. They are easy for little ones to use and you can also use it for things like shaving cream prints and to color play dough! Talk about versatile.
To start our project I had the kids create some bare winter birch trees with masking tape on a sheet of watercolor paper (yes, this paper makes a big difference when working with watercolors.)
This project has been done in so many different ways and I wish I could find my first inspiration for it, but we've been painting these for several years now and it never gets old.
Once the masking tape trees were in place the kids started to paint the background winter sky. I asked them to use only three colors for this project and focus on blending the colors.
We compromised and they used about five colors. They painted right on top of the tape (so be sure the tape is sealed to the paper well.)
While the painting was still wet we sprinkled a little bit of sea salt on top. This is to create a snowy look. The salt absorbs the watercolor and looks like snowflakes falling. It's instantly beautiful.
G got a little carried away with the salt. I was just happy how engaged he was in this. I usually lose the little one after step two.
Finally the tape comes off to reveal our beautiful birch trees. I think I forgot to mention to encourage tearing of the tape to create rough edges. It makes a big difference.
Using a dry brush we added lines to the trees and let our painting dry. Once dry most of the salt falls off and leaves behind our wonderful snowflakes.
What a great way to spend our first snow day. Happy winter, friends!
Saturday, April 27, 2013
Flowers, flowers and more flowers!
Yesterday the kids and I spent the day at the Tulip Festival. It was breathtakingly beautiful. It's one of those places you wish you could take everyone you know because a picture can never do such beauty justice. It was a wonderful day, even at the moment Grayson completely lost it over Emma asking if he needed help picking the one and only yellow tulip that he wanted to bring home. Yep, he threw himself down in the middle of the yellow and orange tulip rows and screamed and kicked and screamed some more, but I gotta say a two-year old melt down is much more tolerable when spent in the middle of this.
He recuperated pretty well and decided on a purple tulip to take home. Good choice, Grayson! They were my favorite. With his new favorite tulip in hand and a ride on the cow train we were back to blissful peace out at the Tulip Festival.
With flowers on the mind I thought I would share some wonderful flower crafts we have been enjoying this spring.
Starting with Egg Carton Tulips seems appropriate! Isn't it amazing what you can do with an egg carton. They must be one of our most used recycled art good. I can never bare to toss them into the recycling bin.With a pipe cleaner stem and a button center these sweet flowers came together pretty nicely.
We used watercolor to add some color, but tempura paints would probably give you a better "pop" of color on your tulips.
Speaking of egg carton awesomeness, check out our Egg Carton Spring Wreath!
We started out with a cardboard ring and added egg carton flowers all around it. I just love the way it came out.
Last summer when I brought home these beautiful white hydrangeas from the store Emma asked if the flower fairies had missed this batch when out adding color to flowers everywhere. I told her they must have and this sparked a new craft in our house and a very important job for her.
Eager to help the fairies out Emma painted each petal of our white hydrangeas with watercolors. Painted Hydrangeas is a new favorite in our house.
Paper Towel Flowers are pretty fun to make by painting with watercolors right on a paper towel. The colors spread and blend to make a really beautiful creation.
With a clothespin these colorful towels become a sweet little flower perfect for adding on top of a gift.
More hydrangeas! These Coffee Filter Hydrangeas are so beautiful and easy to make.
OK, a pattern is happening here. I guess when flower crafting we tend to pull the watercolors out. Interesting. A pipe cleaner stem was added to these to make a sweet little bouquet.
We started our Newspaper Flowers out by painting sheets of newspaper with colored glue. When the sheets dried they were easy to cut into petals and put together to create these fun flowers.
I love that you can still read them! Very cool looking flower.
This was an Emma idea inspired by her love of creating with q-tips. What I loved about it is that it became a really great fine motor skills activity for Grayson and they could enjoy this one together.
For these Q-tip Flowers I helped by cutting the q-tips in half and they stuck them into different sized styro balls. With a little paint (yes, watercolors!) and a pipe cleaner they became flowers. Very unique flowers, if I do say so.
Magical Dandelions sprouted up in our yard recently and what a pleasant surprise they were! You can't go wrong with wishes and glitter!
Labels:
flowers,
Kiwi Crate,
Mother's Day,
Seasons,
spring
Subscribe to:
Posts (Atom)