Wednesday, August 28, 2013

Morning Chart

 Last year, I learned all too well how hectic school mornings can be. When my dear friend, Gwen, showed me the brilliant morning chart she had made I knew I had to get on board with this simple way to ease morning chaos!

 All you need for this is a large piece of foam board or even poster board and markers. I sat down with the kids and talked about how our mornings should go and what needed to get done. We drew pictures together and added little arrows to make it easy to understand (even for my then two-year old.)

We placed our Morning Chart in an easy spot to see, somewhere that we start our mornings out at. This is a great guidance for my children and allowed them to do things independently and with less reminders from me. 
Wishing you all peaceful school mornings!

Monday, August 26, 2013

Back to School Comfort

 With just over a week away from starting a new grade my sweet girl is starting to feel very excited and a bit nervous all in one! To calm her nerves and keep the excitement coming we did a few activities to get ready.

 Have you used Shrinky Dink sheets yet? They are great. We use them for so many crafts, but on this day we made a comfort charm to wear to school. I cut a heart from the shrink sheets and punched a hole in the center. Em drew a picture of her family to have close to her on those first few days when she is missing us.

 Here is the charm before the shrinking. Into the oven it goes at 300 degrees just for a few minutes. The charm will curl up and flatten out and that is when it is done.

 Here it is right out of the oven. The kids just think this is the best thing ever!

With a piece of twine it is the best first day of school accessory ever! She made me one, too. In case I miss her while she is gone. Go ahead, melt my heart.

 This is our "All About Me Card." When talking about having a new teacher and maybe even some new friends Emma was feeling a bit nervous. We chatted about all the things she wanted her new class to know about her. I told her how each and every one of these things made her special and unique and made her...Emma.

At first we made this to bring to her new teacher as a friendly introduction, but what Emma gained from just doing this exercise was much more than I planned. She was confident and proud to be Emma and excited to make new friends, see old friends and enjoy another wonderful year of school.

Pretend Play Coffee Shop

This afternoon Emma asked if she could watch a show, I had a feeling she was coming down with a case of late summer boredom blues. In desperate need for some quick fun for my bored girl I grabed a few paper coffee cups leftover from a birthday party and headed to the yard.
We have an old stainless coffee pot in the mud pie kitchen (perfect!) I filled it with warm water and yes, a tad bit of actual coffee, just enough to give it a "real" coffee smell. We also had some stir sticks on hand and to make it super fun I gave her a little cornstarch and cinnamon.
The kids have been in absolute heaven for the past couple of hours. I did not plan to share this (sorry for the lack of photos,) but it was such a hit with them that I had to write about it.
Bonus--my yard smells heavenly right now!

Saturday, August 24, 2013

Tie-Dye Napkins for School Lunches

 Tie-dye is one of our favorite crafts to do together. The excitement of not knowing how it will turn out is the best! With school just a couple weeks away we made something new using tie-dye--cloth napkins! This were a hit with Emma. She is so excited to take them in her school lunch.

 If you get a simple clothing dye kit at the craft store it will come with everything you need--gloves (a must!) squirt bottles (pre-filled with dye,) and rubber-bands. All you need is the plain cloth napkins and you're ready to get dyeing.

 We dampened our napkins and pulling and twisting straight from the center began adding the rubber-bands. The more bands you add the more contrast you get.

 When we were all set we laid them in the grass. Tie-dyeing outside is a must! That dye does not come out!

 Emma got to work adding color. alternating the color in between each band works best. Once the napkin twists are fully saturated with dye, place them into a plastic bag and let sit for at least 24 hours. The next day cut the bands off and toss into the washing machine. After I wash these I usually turn the washing machine on a cycle to rinse out any remaining dye before I do a load of laundry.

They came out pretty cool! Emma is thrilled to have her own special set of cloth napkins for her school lunches.

Thursday, August 22, 2013

Arg! It's a Pirate Party!

 
 Yesterday was a very special day for us--my little sweetheart who can melt my heart just about every single day, turned three. Three! That's kind of huge in my book. It's when the baby cheeks are just about all gone, diapers have left the building and they stop pronouncing most words with a W. It's so very bittersweet for me. I am just in complete heaven watching this little guy grow into a little boy, but at the same time he is my last baby. Oh how I will miss those W's and baby cheeks--diaper changing, not so much.

 Well, you probably guessed by now that we had a pirate party! This is actually Grayson's second pirate party. This was also the theme of his first birthday...it's getting easier as we go. This first time around I had paper hats, but this year I decided to attempt making felt hats. It was actually pretty easy.

I found at great pattern at Simple Simon & Co, it's just one piece you cut out. Very easy, the most time consuming was adding the tiny felt ships to the top. I cut those out free-hand and hand stitched them on with embroidery thread. 

 We placed our hats at the front door in a "treasure box" along with the eye patches. I made those by cutting rounds from felt and sewing onto black elastic. I also added cute little felt appliques on the patches as well.

 This trail is just colored tape and Grayson thought this was the coolest thing ever! It led our guests right to the treasure box. Nice way to greet a few pirates.

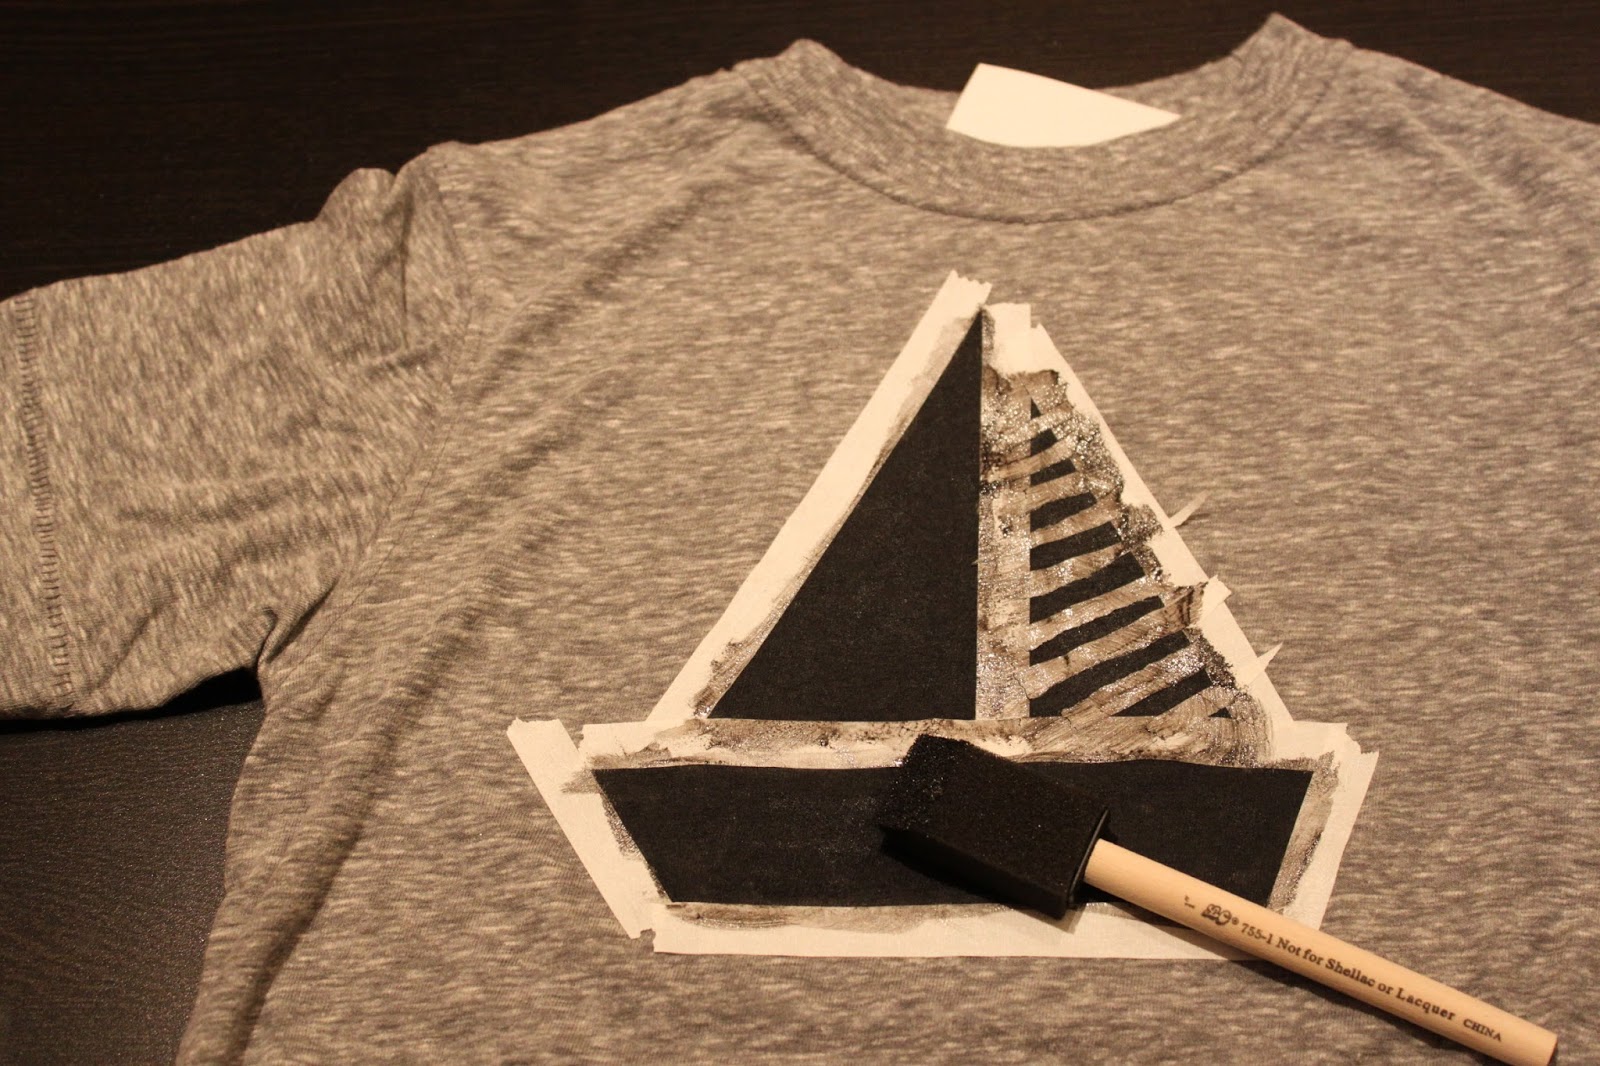
Banners are so easy to make. This literally took me about ten minutes to put together. I cut burlap triangles out and hot glued them to a string of twine. Next, I painted right onto the burlap with acrylic paints. Best part is after the party was over I added it to Grayson's nautical room. Ahoy!

Onto the games....Grayson was so into the "pin the horn on the unicorn" game I made for Emma's party, that I just had to create one for him, too. We played "pin the patch on the pirate." It was a big hit amongst the three-year-old's. This is so very easy to set-up. I did a quick sketch on a large sheet of wrapping paper and added a little paint. For the patches, I just cut circles from sticky sided foam sheets. So easy!

This was another one from Em's party, but it is always so entertaining to most ages (myself included!) so we decided to switch out the figurines and add it to yet another party. I added magic water beads (what are these things really called?? They are in the floral department of the craft store) to our clean sand table and threw in a few pirate figurines. The kids LOVED this!

Walk the plank!! I made this sign with a scrap piece of foam board and attached it to a couple paint sticks. Next, I used my DIY Balance Beam and at the end of it had a baby pool filled with balloons. Water would be fun too if you were having a pool party.

We always have a craft station (surprise, surprise) and every pirate needs a telescope, of course! This table was a self-serve craft with paper rolls that could be decorated with foam strips and pirate stickers.

 Now onto the most exciting part of birthday parties for most kids. I have learned it doesn't matter what they get in those favor bags, kids are always so happy to be receiving a little bag of goods and can hardly make it out the front door before rummaging through to see what they have scored. I love it!

In our bags we had pirate tattoos, seashells and a lollipop placed in a simple envelope bag which was clothes-pinned to a bag of Pirates Booty, of course! I know, I'm just so original, hehe.

My Sweet Pirate G, 
You make every day an adventure. You have taught me how fun worms can be and that potty words can make any one of any age laugh. You are so very curious and the biggest ham I know. You impress me every single day with all of your questions and your easy going personality. You told me yesterday when I refused to let you grow up "but, I oways be you baby, mama." and right then I knew you were right. You will always be my baby and that is the best gift I got on your birthday.
Happy 3rd, my love.
your mama

Monday, August 19, 2013

Napkin Notes for School Lunches

 Back to school is just around the corner for us and while Emma is very excited to enter the 1st grade she is also feeling a bit nervous. As much as I wish I could take all those scary feelings away and leave her with all the good ones, I can't. But, what I can do is comfort her as much as possible. I do this by talking and talking and talking some more. The more we talk about it the more she opens up about how she is feeling and the more she gets excited about all the exciting things to come.

 We sat down and decorated a few plain cloth napkins using just fabric markers. It was a fun activity to get Emma excited for school. It also was a great way for me to make comforting notes and silly drawings to send with her to school.

Fabric markers are a great tool to also label school supplies like backpacks, lunch bags and jackets. I shared this idea and many more over at Kiwi Crate.

Tuesday, August 13, 2013

Face Paint Pretend Play

Em and G absolutely adore face paint, but they would much rather be doing the painting then actually getting painted. I don't blame them--that is where all the fun is, isn't it?  I created a little face painting station for them in our yard and they played, imagined and created for hours.

 We used a few retired dolls for this, but if you don't have any dolls to risk becoming rainbow fashioned you can easily find a few at a local thrift shop. Along with our dolls I grabbed a few small paint brushes, new kitchen sponges, a couple rags and of course paint!

 We used kids washable paints (just regular old paints) and I mixed them with a little bit of baby lotion to allow them to wipe off easily.

 They got to work! This particular doll is an old pro at this, can you tell??

 The damp sponges let the kids wipe and start over as much as they please.

 I wish I had this recorded for you all to hear the conversations between the face painters and their ever so easy going customers. It was a riot!

While we are still enjoying our summer vacation I know a lot of you are back at school, wouldn't this be a fun surprise to set-up for the kids as they return home from those first few days of school?? I hope you will try it. It's one of those simple activities that brings so much joy to the little ones.

I shared this over at Kiwi Crate, join me there for more tips and fun!

Tuesday, August 6, 2013

DIY Graphic Tee for Back to School

 Well, we have started the count down (boohoo!) Summer vacation is almost over and we are starting to prepare for another wonderful school year. This is such an easy way to make a very cool t-shirt for back to school and also a good way to kick off the conversations about all things to come.

 Materials 
  • t-shirt (pre-washed)
  • masking tape
  • fabric paint
  • sponge brush
  • sheet of paper

 1. Make your image outline using masking tape right onto the shirt. (Things with straight lines work best with this technique. Think simple!)
2. Add a sheet of paper or cardboard in between the shirt layers to keep the paint from going through to the other side.

 3. Squeeze small amounts of fabric paint onto the shirt and use the sponge brush to fill in your image. You want a very thin layer of paint.

 4. Once you are done filling in the image you can pull the tape off and let dry for a few hours.

There you have it! This was so easy and fun to customize for my daughter. I think I may have a new crafty addiction!

Friday, August 2, 2013

Rainbow Unicorn Birthday Party

 A few weeks ago my sweet girl turned 6 and we had a rainbow unicorn party per her request (I wouldn't expect anything less!) I wanted to share a few crafty things we created for this special day. It was a fun one, for sure!

 We had to spread the word throughout the neighborhood that there was indeed a six-year-old among us! We made this really easily with artificial flowers, hot glue and a small canvas.

 I was lucky to find some great little mystical figurines (including unicorns) and added them to our sand table along with some water beads. The kids were thrilled to find this gem in the yard.

Pin the HORN on the unicorn! I did a quick painting of a hornless unicorn on the back of a sheet of gift wrap. I cut horns from sticky foam sheets for the game. It was a hit.

We didn't have the most magical of menus, since the birthday girl is a big fan of tacos, but I did make a rainbow fruit salad to festive up our food table. Oh and finally had a use for the grass placemats that I ordered for the taco fans third birthday party (every 3 years they get used, I'd say that's something!)
 
 I found these very cool vintage looking stickers and tattoos on Amazon.
 
OK, I did not get the best picture of this activity, but it was fun. I used a unicorn chocolate mold to make plaster unicorns for the girls to paint.  This is very easy and inexpensive to do and you can do this for just about any party theme out there.

 To greet our guests, we added a horn to our old retired rocking horse (isn't he cute? I just can't seem to part with him!) Oh and more about those fantastic horns to come.

 I made tails with elastic and ribbon and used chalk to draw magical unicorn hooves leading to the front door. With all of our horns in the basket the girls could walk into the party already in full rainbow unicorn fashion!

Here a quick low down on the horns. I used half a foam sheet and rolled it up with hot glue, decorated with ribbon and attached to a fabric headband with more hot glue. So easy!

There are my two unicorns in full magical unicorn form!

To thank our ever so lovely unicorn guests for attending our party we sent them home with a bag full of jewels, of course.

My Dear Rainbow Unicorn,
You have a sweet sensitive soul that many adults don't even understand. You amaze me each and every day with your passion for everything you do and your compassion for everyone you meet. You are going to change this world, just mark my words.
I love you.
your mama